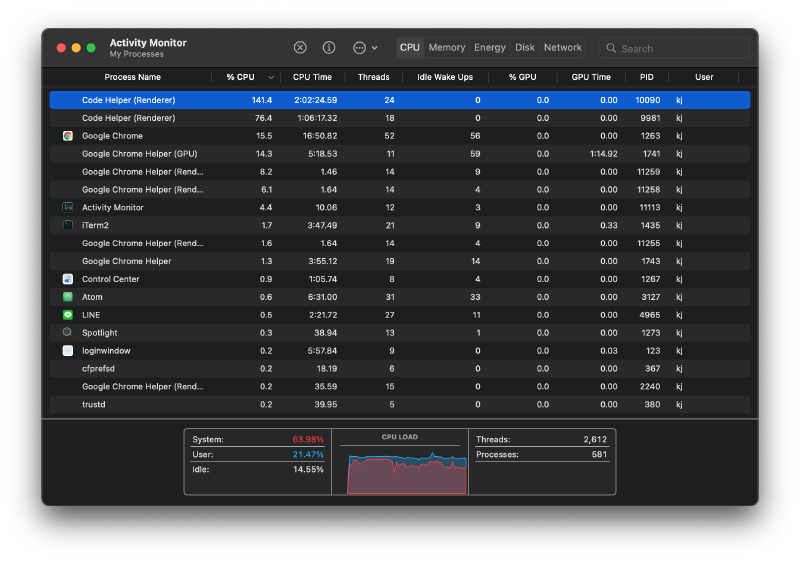
在开启 VSCode 撰写程式文件时,都还没开始使用 CPU 已经起飞了,看了 Activity Monitor 发现 Code Helper (Renderer) 的程序佔满了整个 CPU 的执行时间
这是 VSCode 在对整个专案做索引建立时会跑出来的状况,可以指定特定目录不建立索引,提高执行效率
解决方式
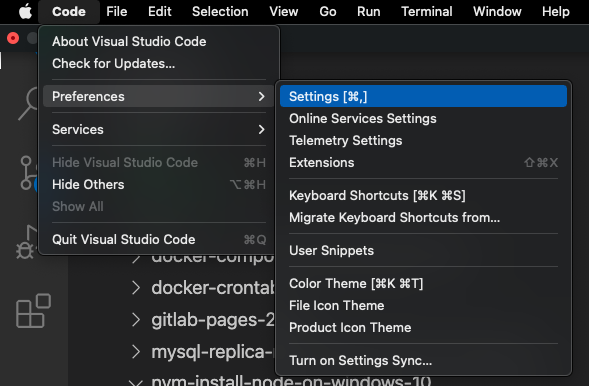
1. 开启 VSCode 的设定
在上方工具列点选 Code > Preferences > Setting 开启设定
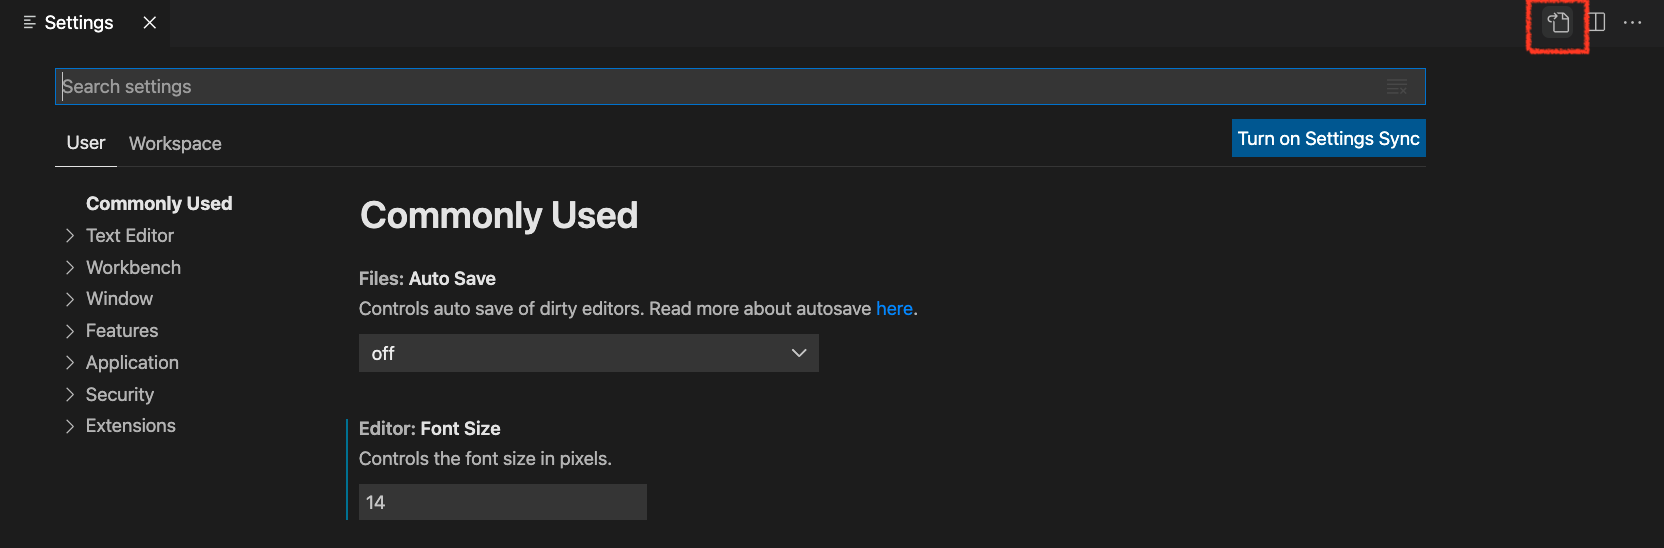
2. 点选右上方右边数来第三个按钮打开 setting.json
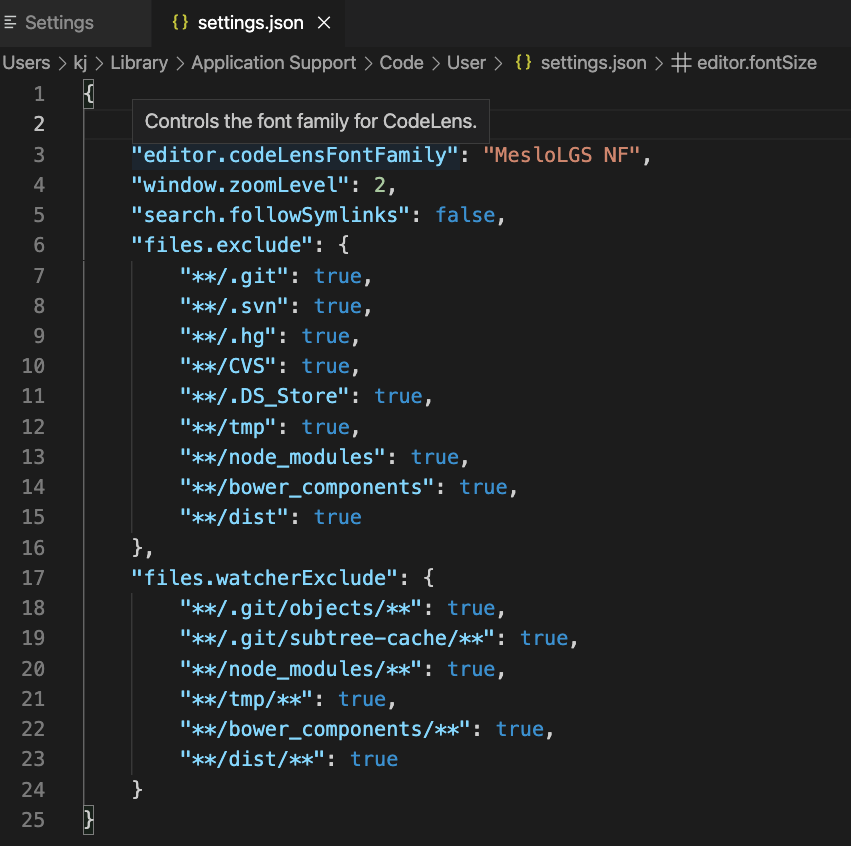
3. 将排除的目录设定设定到 setting.json
排除的 json 设定会像这样,可以指定某个目录下的档案步要做专案索引设定,可以针对你的专案结构类型去做设定
设定完成后若使用 VSCode 在程式码中进行关联跳转,若有关联到设定的目录则不会跳转,所以要设定时要谨慎注意
{
    "search.followSymlinks": false,
    "files.exclude": {
        "**/.git": true,
        "**/.svn": true,
        "**/.hg": true,
        "**/CVS": true,
        "**/.DS_Store": true,
        "**/tmp": true,
        "**/node_modules": true,
        "**/bower_components": true,
        "**/dist": true
    },
    "files.watcherExclude": {
        "**/.git/objects/**": true,
        "**/.git/subtree-cache/**": true,
        "**/node_modules/**": true,
        "**/tmp/**": true,
        "**/bower_components/**": true,
        "**/dist/**": true
    }
}
设定完成后会长得像这样
4. 重新开启 VSCode 载入最新设定
在设定完成后需要重新开启 VSCode 让设定生效,若重新开启后还是有看到 Code Helper (Renderer) 还是佔满 CPU 资源,建议电脑重开机即可
完成后电脑 CPU 过高的问题就解决了,CPU 风扇不再起飞
参考资料
Donate KJ 贊助作者喝咖啡
如果這篇文章對你有幫助的話,可以透過下面支付方式贊助作者喝咖啡,如果有什麼建議或想說的話可以贊助並留言給我
If this article has been helpful to you, you can support the author by treating them to a coffee through the payment options below. If you have any suggestions or comments, feel free to sponsor and leave a message for me!
| 方式 Method | 贊助 Donate |
| PayPal | https://paypal.me/kejyun |
| 綠界 ECPay | https://p.ecpay.com.tw/AC218F1 |
| 歐付寶 OPay | https://payment.opay.tw/Broadcaster/Donate/BD2BD896029F2155041C8C8FAED3A6F8 |