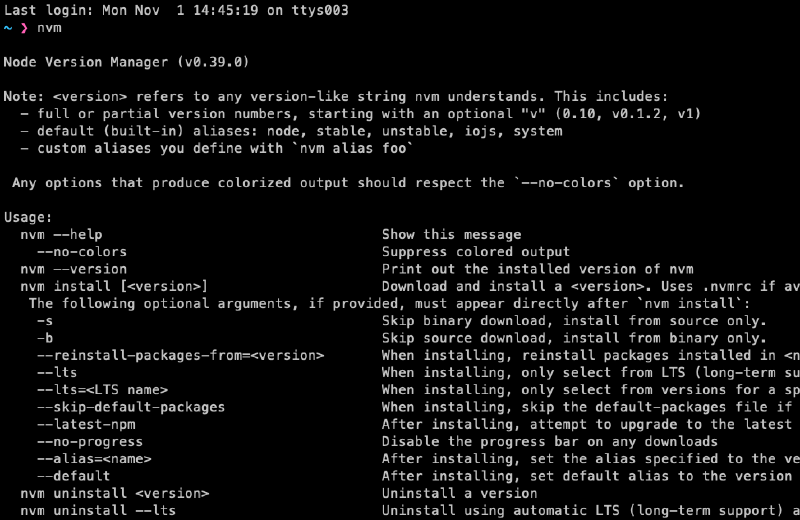
在 Mac 開發 Node.js 程式時可以使用 NVM 來管理 Node.js 的版本,可以針對不同的專案需求去做簡單的 Node.js 版本切換
安裝 NVM
執行 curl 指令進行安裝
curl -o- https://raw.githubusercontent.com/nvm-sh/nvm/v0.39.0/install.sh | bash
設定 NVM 環境變數
Terminal 的設定檔案通常會放在 ~/.bash_profile、~/.zshrc、~/.profile、~/.bashrc 檔案中,在開啟 Terminal 時會自動載入客製化設定,需要設定開啟時去載入 NVM 的相關設定
預設在安裝完成後會自動將 NVM 設定檔案自動加入您的設定檔案,若沒有自動加入時則自行手動加入即可
export NVM_DIR="$([ -z "${XDG_CONFIG_HOME-}" ] && printf %s "${HOME}/.nvm" || printf %s "${XDG_CONFIG_HOME}/nvm")"
[ -s "$NVM_DIR/nvm.sh" ] && \. "$NVM_DIR/nvm.sh" # This loads nvm
安裝時自動加入 NVM 設定檔範例
$ curl -o- https://raw.githubusercontent.com/nvm-sh/nvm/v0.39.0/install.sh | bash                                                            14:44:48

  % Total    % Received % Xferd  Average Speed   Time    Time     Time  Current
                                 Dload  Upload   Total   Spent    Left  Speed
100 14984  100 14984    0     0  75848      0 --:--:-- --:--:-- --:--:-- 81879
=> Downloading nvm from git to '/Users/kj/.nvm'
=> Cloning into '/Users/kj/.nvm'...
remote: Enumerating objects: 348, done.
remote: Counting objects: 100% (348/348), done.
remote: Compressing objects: 100% (297/297), done.
remote: Total 348 (delta 39), reused 153 (delta 26), pack-reused 0
Receiving objects: 100% (348/348), 201.00 KiB | 2.16 MiB/s, done.
Resolving deltas: 100% (39/39), done.
=> Compressing and cleaning up git repository

=> Appending nvm source string to /Users/kj/.zshrc
=> Appending bash_completion source string to /Users/kj/.zshrc
=> Close and reopen your terminal to start using nvm or run the following to use it now:

export NVM_DIR="$HOME/.nvm"
[ -s "$NVM_DIR/nvm.sh" ] && \. "$NVM_DIR/nvm.sh"  # This loads nvm
[ -s "$NVM_DIR/bash_completion" ] && \. "$NVM_DIR/bash_completion"  # This loads nvm bash_completion
列出可安裝的 Node.js 版本
使用 nvm ls-remote 即可列出所有目前可安裝的 Node.js 版本
nvm ls-remote
列出 Node.js 版本範例
$ nvm ls-remote
        v16.6.2
        v16.7.0
        v16.8.0
        v16.9.0
        v16.9.1
       v16.10.0
       v16.11.0
       v16.11.1
       v16.12.0
->     v16.13.0   (Latest LTS: Gallium)
        v17.0.0
        v17.0.1
安裝指定版本 Node.js
使用 nvm install 指令即可指定安裝 node.js 版本
nvm install <node-js-version>
NVM 安裝 node.js 範例
$ nvm install v16.13.0
Downloading and installing node v16.13.0...
Downloading https://nodejs.org/dist/v16.13.0/node-v16.13.0-darwin-x64.tar.xz...
####################################################################################### 100.0%
Computing checksum with shasum -a 256
Checksums matched!
Now using node v16.13.0 (npm v8.1.0)
Creating default alias: default -> v16.13.0
NVM 安裝 Node.js 版本路徑
使用 node -v時可以看到已經安裝完成的 v16.13.0 版本的 Node.js
$ node -v
v16.13.0
使用 which node 可以看到 Node.js 被安裝在家目錄中的 .nvm/versions/node/v16.13.0 目錄中
$ which node
/Users/kj/.nvm/versions/node/v16.13.0/bin/node
所以當有不同的版本 Node.js 時,NVM 會將不同版本放到不同的目錄中並作切換
列出目前 NVM 有安裝的 Node.js 版本
使用 nvm ls 指令即可列出目前系統已安裝的所有 node.js 版本
nvm ls
列出已安裝已安裝的所有 node.js 版本範例
$ nvm ls
->     v16.13.0
default -> v16.13.0
iojs -> N/A (default)
unstable -> N/A (default)
node -> stable (-> v16.13.0) (default)
stable -> 16.13 (-> v16.13.0) (default)
lts/* -> lts/gallium (-> v16.13.0)
lts/argon -> v4.9.1 (-> N/A)
lts/boron -> v6.17.1 (-> N/A)
lts/carbon -> v8.17.0 (-> N/A)
lts/dubnium -> v10.24.1 (-> N/A)
lts/erbium -> v12.22.7 (-> N/A)
lts/fermium -> v14.18.1 (-> N/A)
lts/gallium -> v16.13.0
使用指定版本 Node.js
使用 nvm use 指令即可隨時切換想要的 Node.js 版本
nvm use <node-js-version>
使用 nvm use 指令切換範例
$ nvm use v16.13.0
Now using node v16.13.0 (npm v8.1.0)
設定預設 Node.js 版本
因為透過 nvm 可以同時有多個 Node.js 版本在系統中,若常用的版本我會把他設定為預設使用的版本,若有要使用其他不同的版本時,我再做切換
使用 nvm alias default 指令即可設定預設的 node.js 版本
nvm alias default <node-js-version>
設定預設 node.js 版本範例
$ nvm alias default v16.13.0
default -> v16.13.0
參考資料
Donate KJ 贊助作者喝咖啡
如果這篇文章對你有幫助的話,可以透過下面支付方式贊助作者喝咖啡,如果有什麼建議或想說的話可以贊助並留言給我
If this article has been helpful to you, you can support the author by treating them to a coffee through the payment options below. If you have any suggestions or comments, feel free to sponsor and leave a message for me!
| 方式 Method | 贊助 Donate |
| PayPal | https://paypal.me/kejyun |
| 綠界 ECPay | https://p.ecpay.com.tw/AC218F1 |
| 歐付寶 OPay | https://payment.opay.tw/Broadcaster/Donate/BD2BD896029F2155041C8C8FAED3A6F8 |
